
Today, we will explore a preview feature available in Microsoft Dynamics 365 that is known as “Prepayment customer invoice feature”. This long awaited feature in 10.0.41 allows business users to record and link the Customer Prepayments against the related Sales Order.
Let’s explore the functionality together!
Setups:
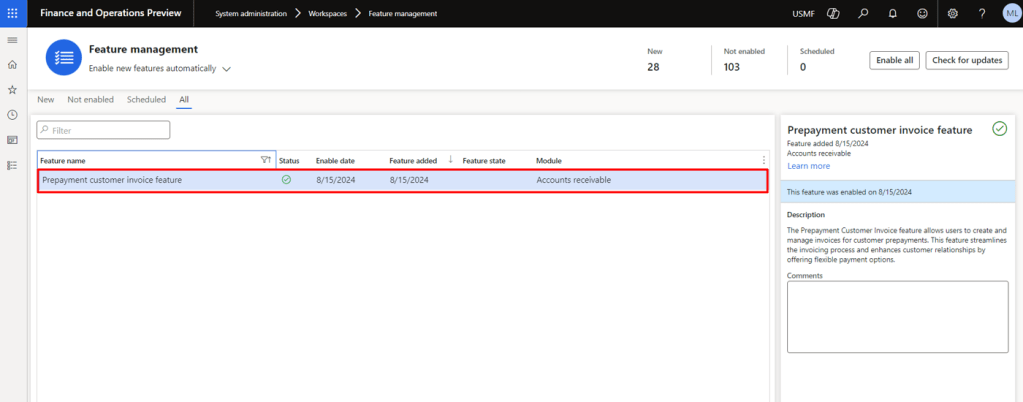
Navigate to System Administration > Workspaces > Feature management > Enable the feature “Prepayment customer invoice feature”

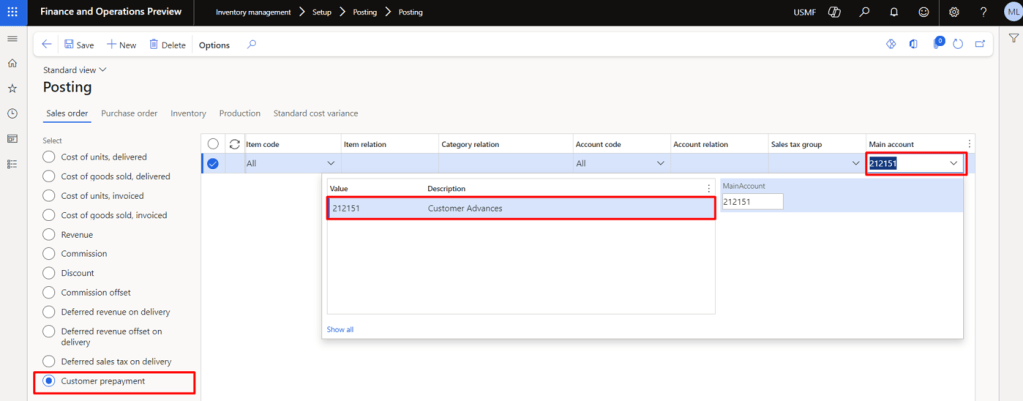
Navigate to Inventory Management > Setup > Posting > Posting
Here, you will notice a new posting type in the Sales Order Tab of the page that says “Customer Prepayment”. Select an appropriate Main Account by confirming the finance department. In our case, its “Customer Advances”.
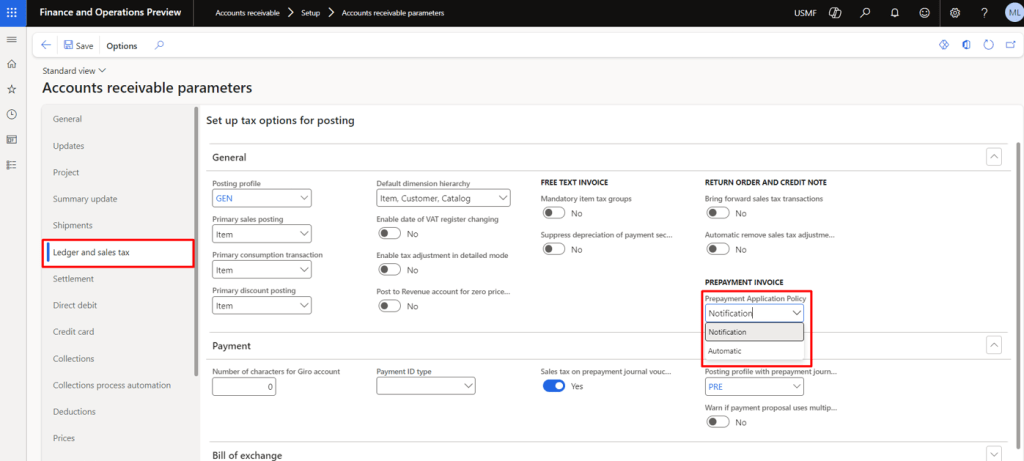
Navigate to the Accounts Receivable parameters > Ledger and Sales Tax > General Fast Tab > Prepayment Invoice > Prepayment Application Policy
Notification will only notify the user (at the time of actual invoice booking) that a prepayment invoice is available for settlement. (We will be using this for the demonstration)
Automatic will automatically select the prepayment invoice of the Sales order to be settled with the actual invoice.
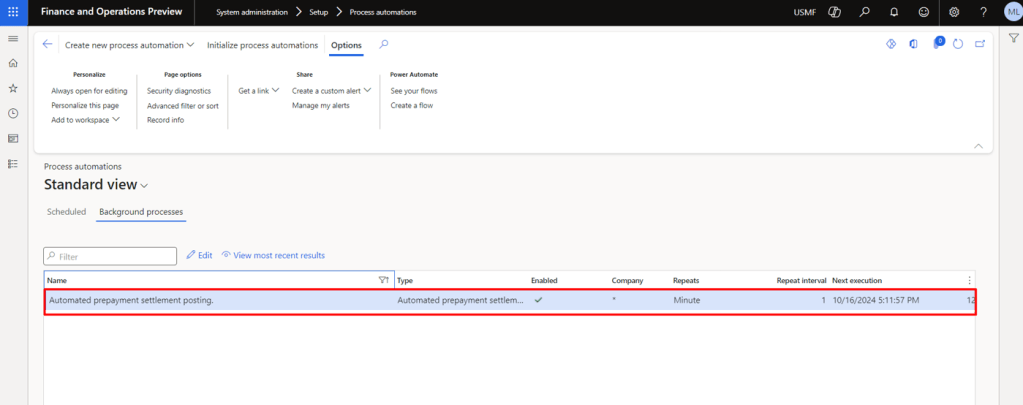
We need to setup “Automated Prepayment settlement posting” background process. This will be used for the settlement of applied prepayment and the actual invoice. Navigate to the system administration > setup > process automations and schedule the above mentioned background process while setting the interval as per your requirement.
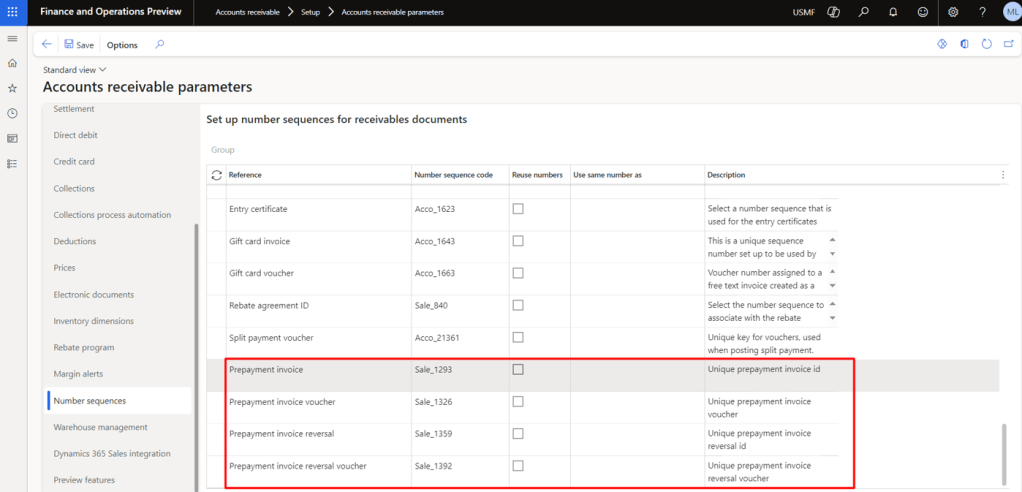
Fill in the following number sequences in the Accounts Receivable parameters:
- Prepayment Invoice
- Prepayment Invoice Voucher
- Prepayment Invoice Reversal
- Prepayment Invoice Reversal Voucher
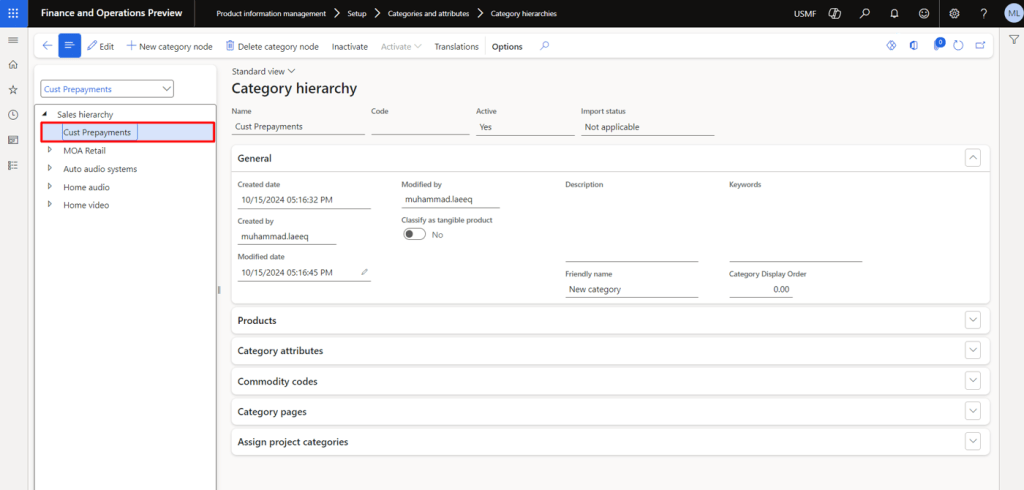
Setup up the Sales Category that will be selected at the time of prepayment proposal. We can also create multiple Sales Categories and assign different main accounts with each category (if required). In our case it will be “Cust Prepayments”
We are done with all the mandatory setups, let’s move towards the walkthrough for better understanding of the functionality.
Walkthrough:
Use Case:
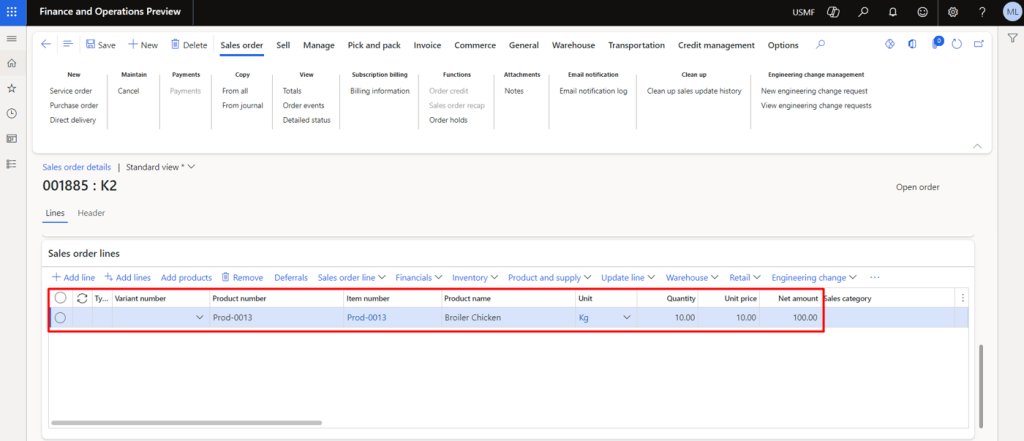
Sales Order Net Amount = 100
Prepayment Proposal = 60
Prepayment Invoice = 60
Customer Receipt = 60
Actual Invoice = 100
Create a Sales Order and select the items that needs to be sold to the customer
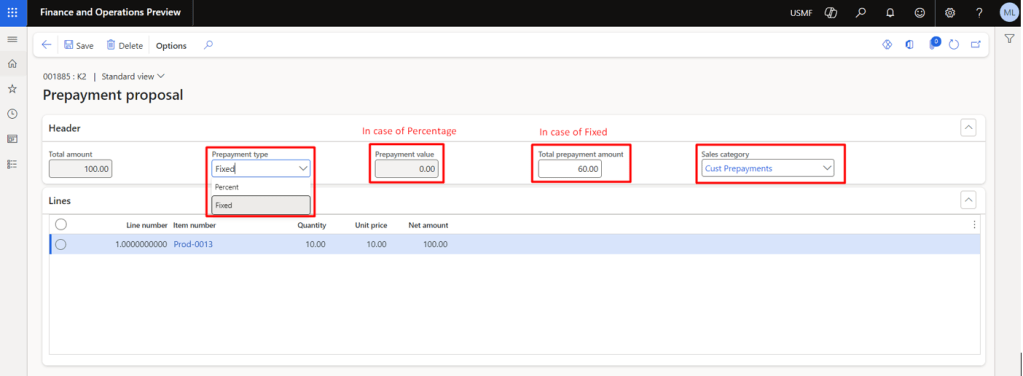
Navigate to the Invoice Tab and click on the Payment Proposal Button
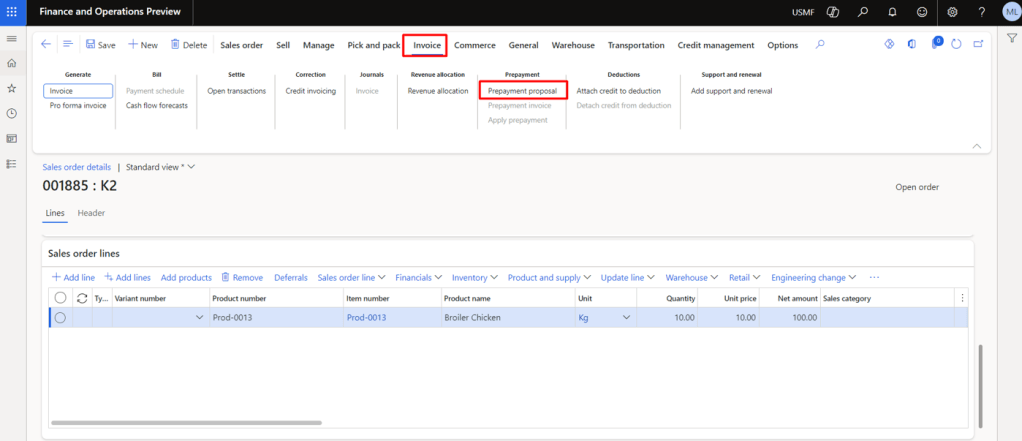
Select the Sales Category, Total prepayment amount or Percentage Value and the prepayment type (In our case it’s Fixed) and click Save
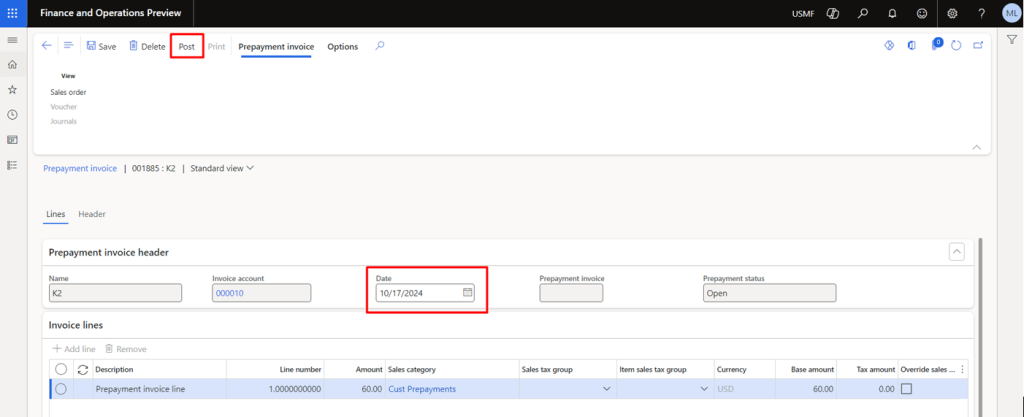
Now click on the Prepayment Invoice button

Select the Date and Post
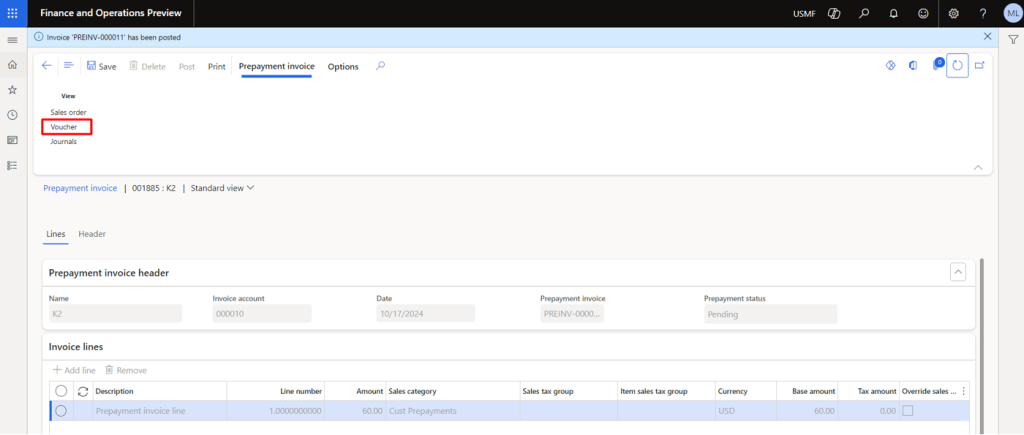
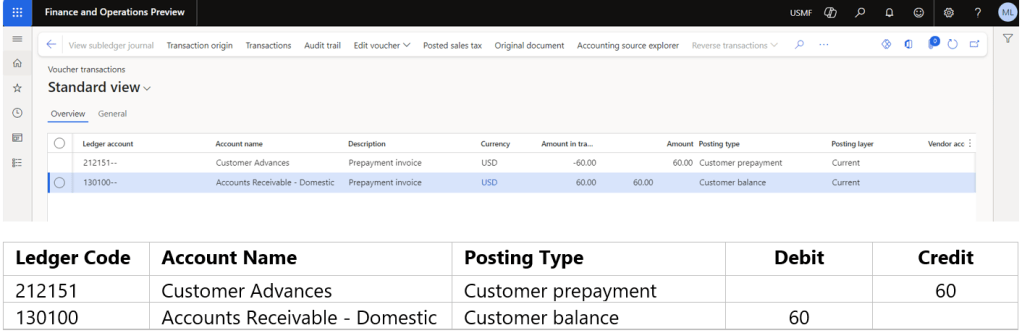
Click on Voucher to check the financial impacts
Record the Customer Receipt via the Customer Payment Journal while selecting the Prepayment Invoice for settlement
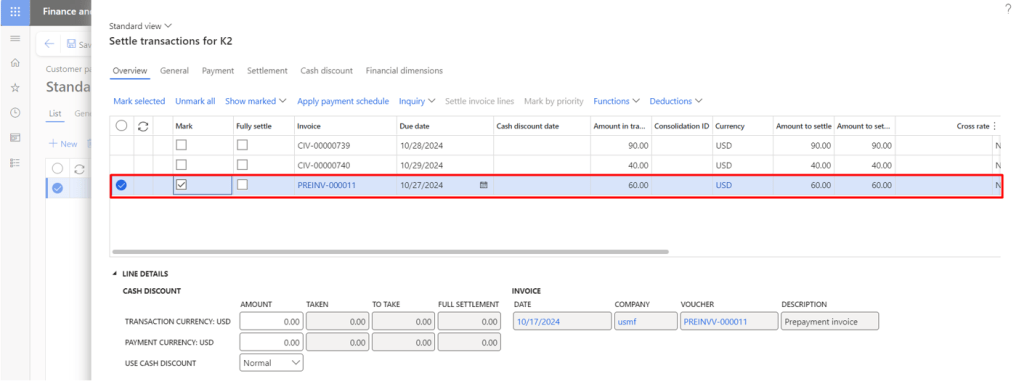
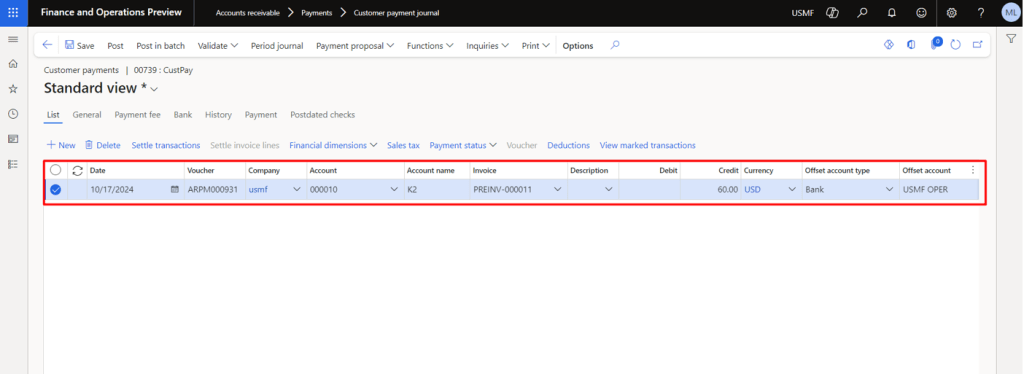
After posting, click on the Voucher to check the financials involved

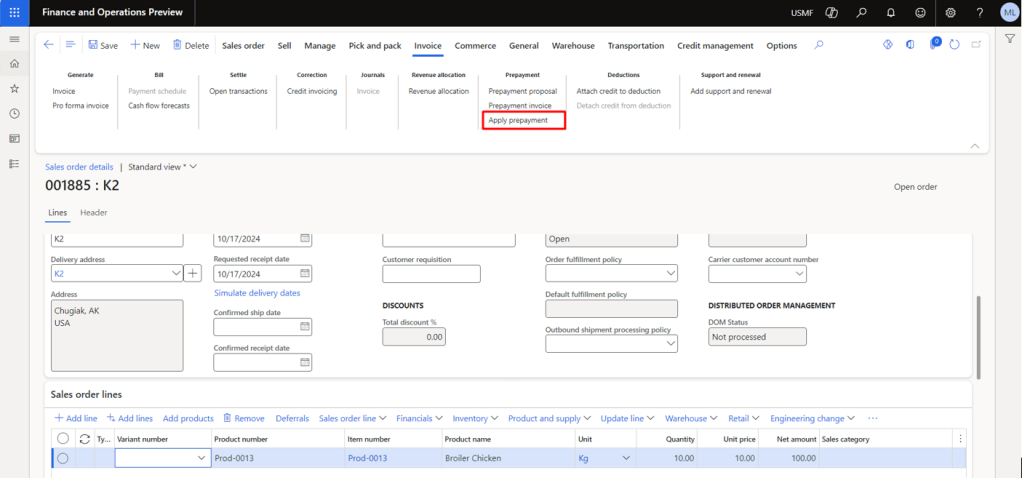
Now we need to click on the Apply Prepayment button under the Invoice Tab so that the required Prepayment can be selected for application whenever we create the actual sales invoice
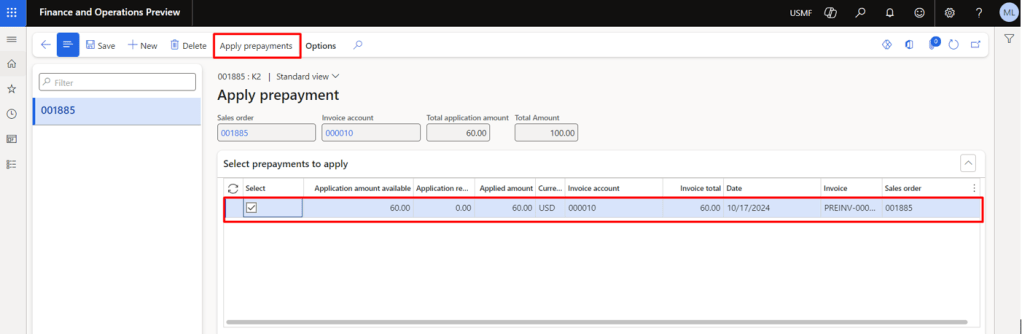
Select the prepayment line and click on Apply Prepayments
Now, we will be recording the actual Sales Order Invoice by navigating to the Invoice Tab and clicking on the Invoice
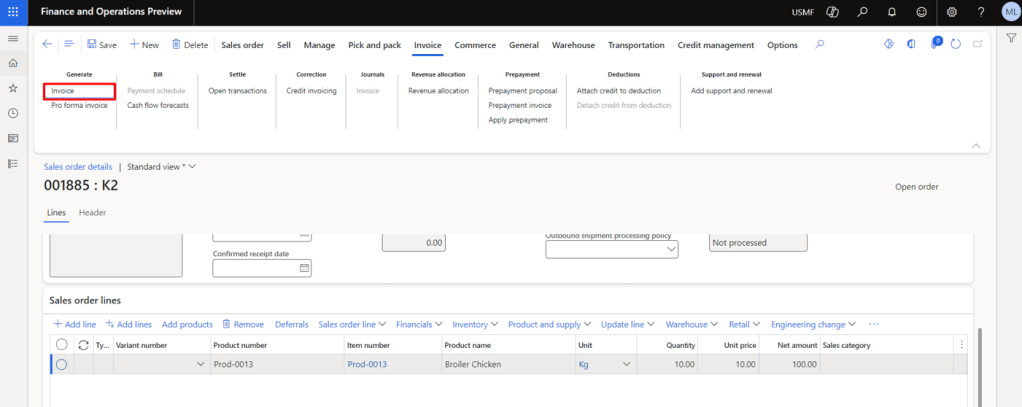
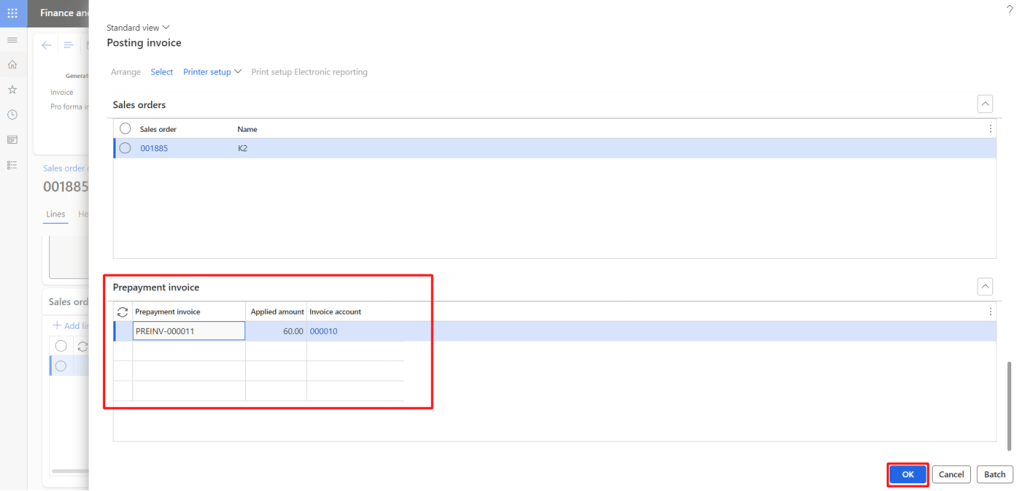
Before posting, you will notice a new fast tab “Prepayment invoice” where you can check the Applied amount column that represents the Prepayment that has been selected for application with actual invoice. After verification, click OK to post the invoice
Let’s check the financials
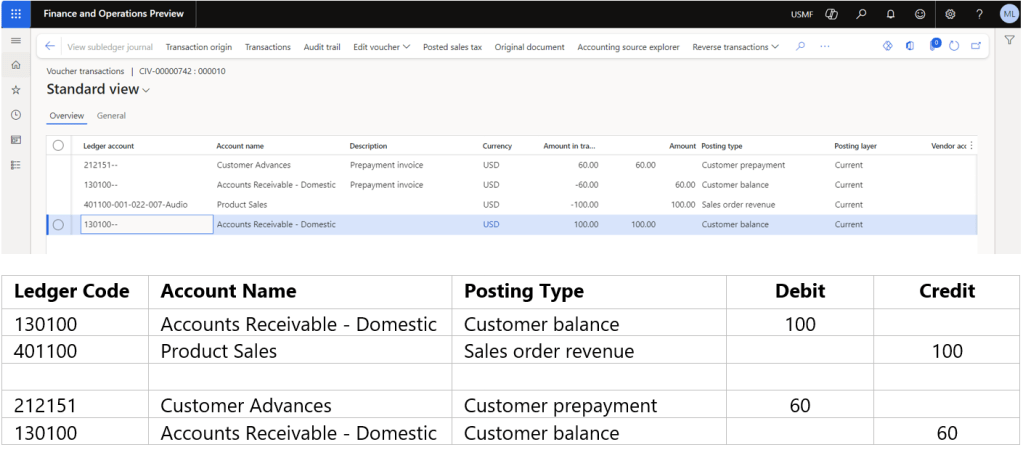
Finally, we will have the open customer/sales order invoice of 40 only.
Contributor: Abdul Basit

Leave a comment